

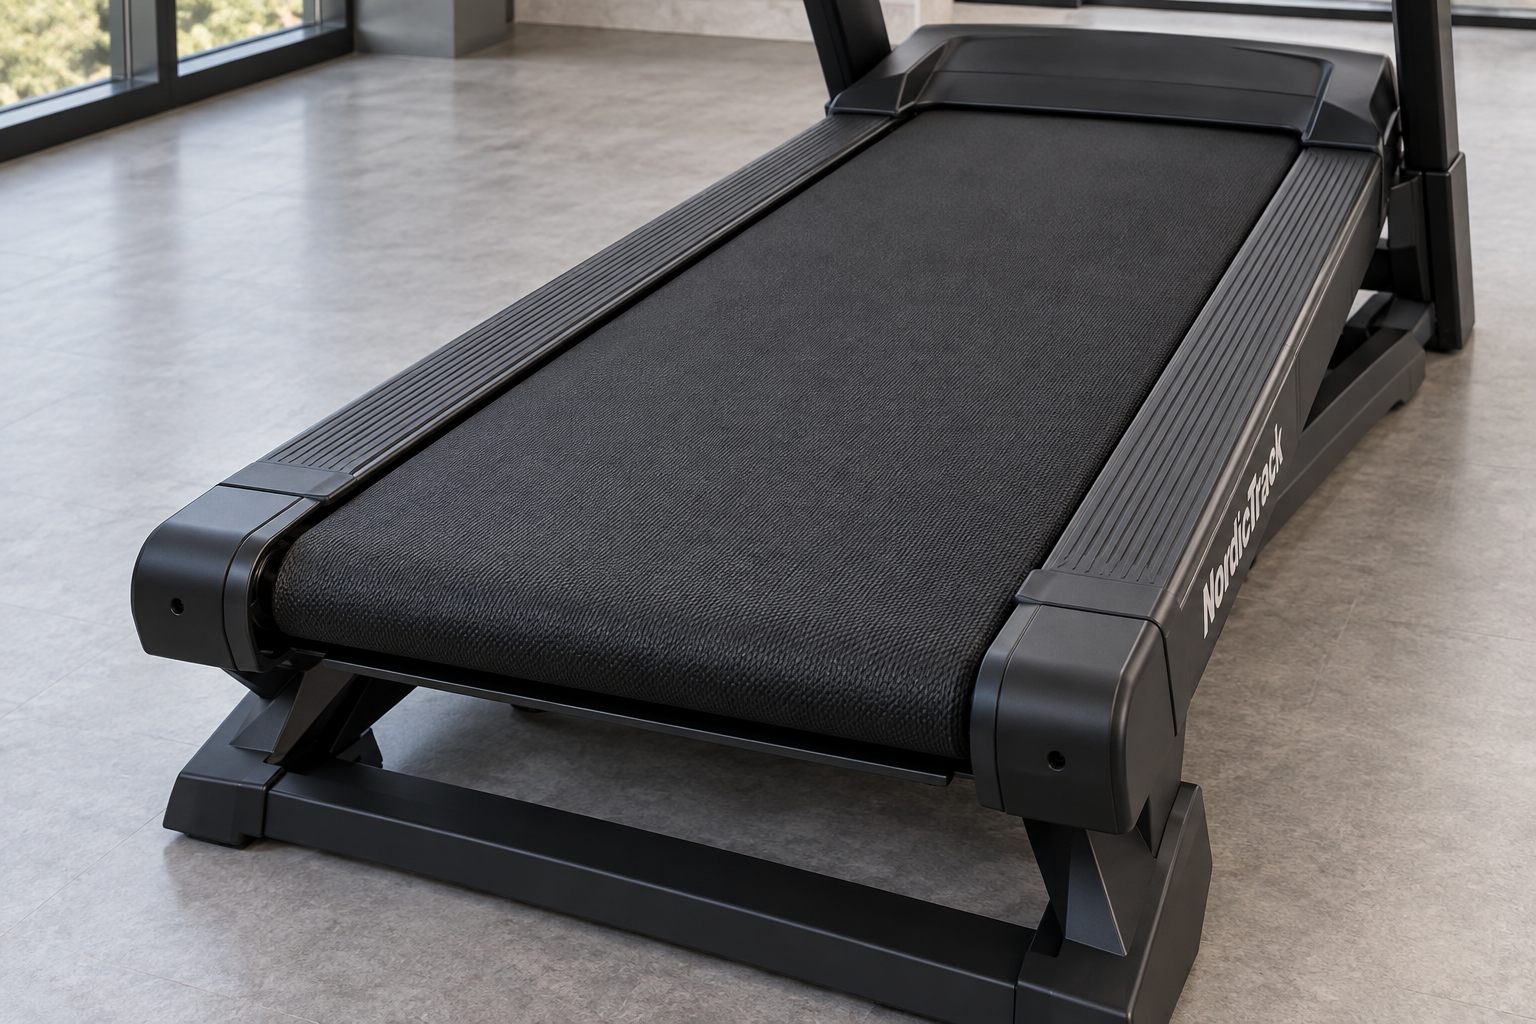
Don’t let a worn or slipping belt put your fitness routine on hold. While a failing belt can make your treadmill feel like it’s reached the end of its life, it is often a manageable, cost-effective repair. By tackling this project yourself, you can restore your machine’s performance and save money compared to purchasing a brand-new unit.
Step 1: Diagnose the Issue
Before ordering parts, it is critical to confirm that the belt is indeed the source of your problem. Not all issues require a full replacement; some can be resolved with simple tensioning or lubrication. Watch for these clear signs that your belt needs to be replaced:
- Visible Damage: Obvious fraying, cracking, or separation of the belt material.
- Consistent Slippage: If the belt pauses under your foot while you are walking or running, even after you have attempted to tighten the tension.
- Mechanical Noise or Odors: A persistent “thumping” sound while the belt rotates or a burning smell, which may indicate excessive friction.
Step 2: Safety First
Your safety is the top priority. Before you touch any internal components of your treadmill, follow this non-negotiable rule: Unplug the treadmill from the power outlet entirely. Never perform inspections or installation work while the machine is connected to electricity.
Step 3: Precision Identification and Measurement
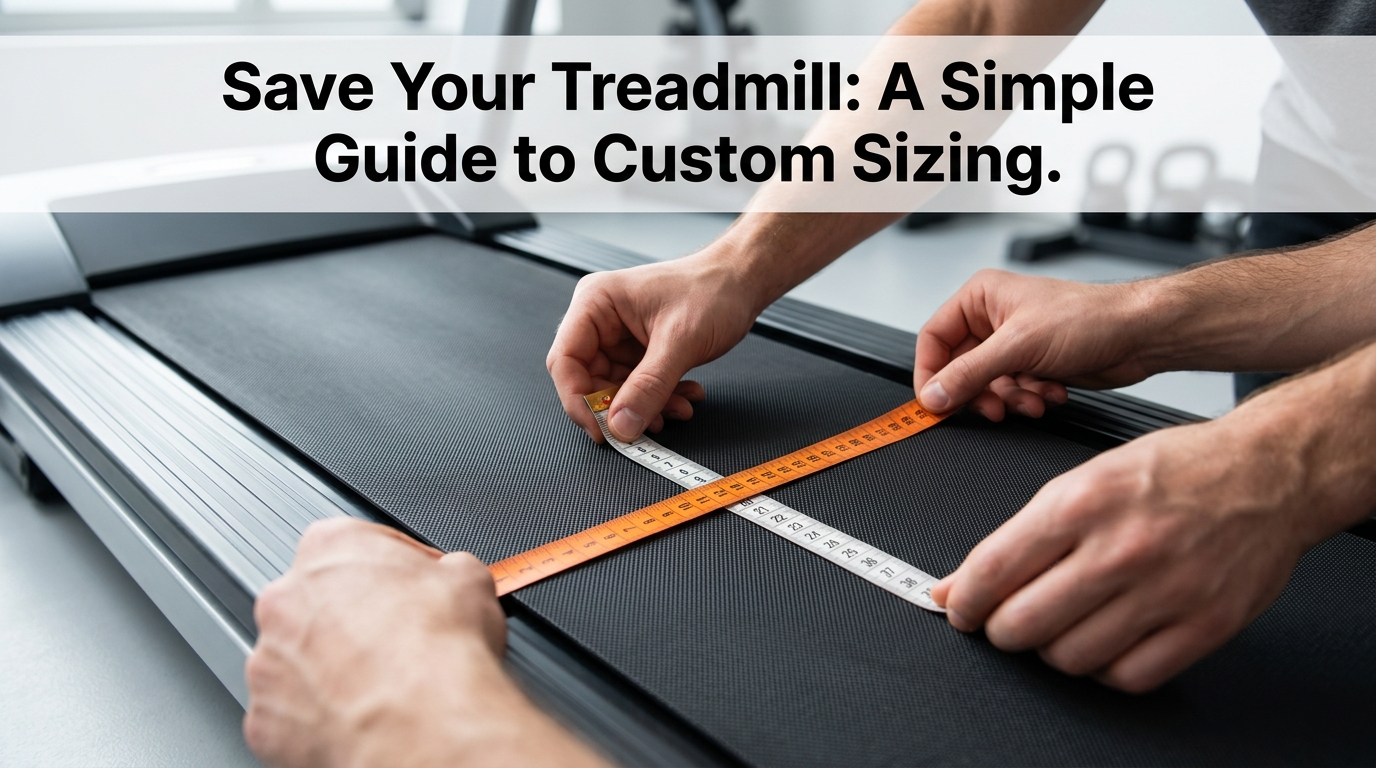
To ensure a perfect fit, you must identify your machine correctly. A generic model name is rarely enough. Always look for the exact model number AND version number—usually found on a sticker on the treadmill frame—to ensure the replacement part is compatible with your specific unit. If you are unsure about your measurements, our team is here to help you get the exact specifications required.
Step 4: The Installation Process
While the process varies slightly by design, the general steps to replace your belt include:
- Clear the Area: Ensure you have ample space around the treadmill to work comfortably.
- Remove the Motor Cover and Side Rails: Carefully unscrew and set aside the plastic shrouds that protect the deck.
- Loosen the Tension: Fully back off the rear roller tension bolts to create enough slack to remove the old belt.
- Deck Access: Depending on your model, you may need to partially lift or remove the running deck to slide the old belt out and the new one in.
- Align and Tension: Once the new belt is in place, reinstall the roller and gently tighten the tension bolts until the belt is centered and tracking correctly.
Step 5: Maintenance for Longevity
Once your new belt is installed, don’t forget the final step: maintenance. Regular lubrication and cleaning are the best ways to protect your new belt and reduce strain on your treadmill’s motor. A little preventative care today will ensure your machine continues to power your workouts for years to come.
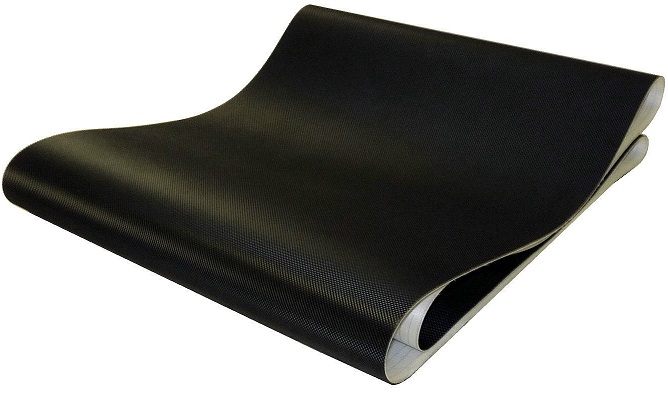
Ready to get started? Order your replacement belt today and restore your fitness equipment to peak condition.





Leave A Comment