

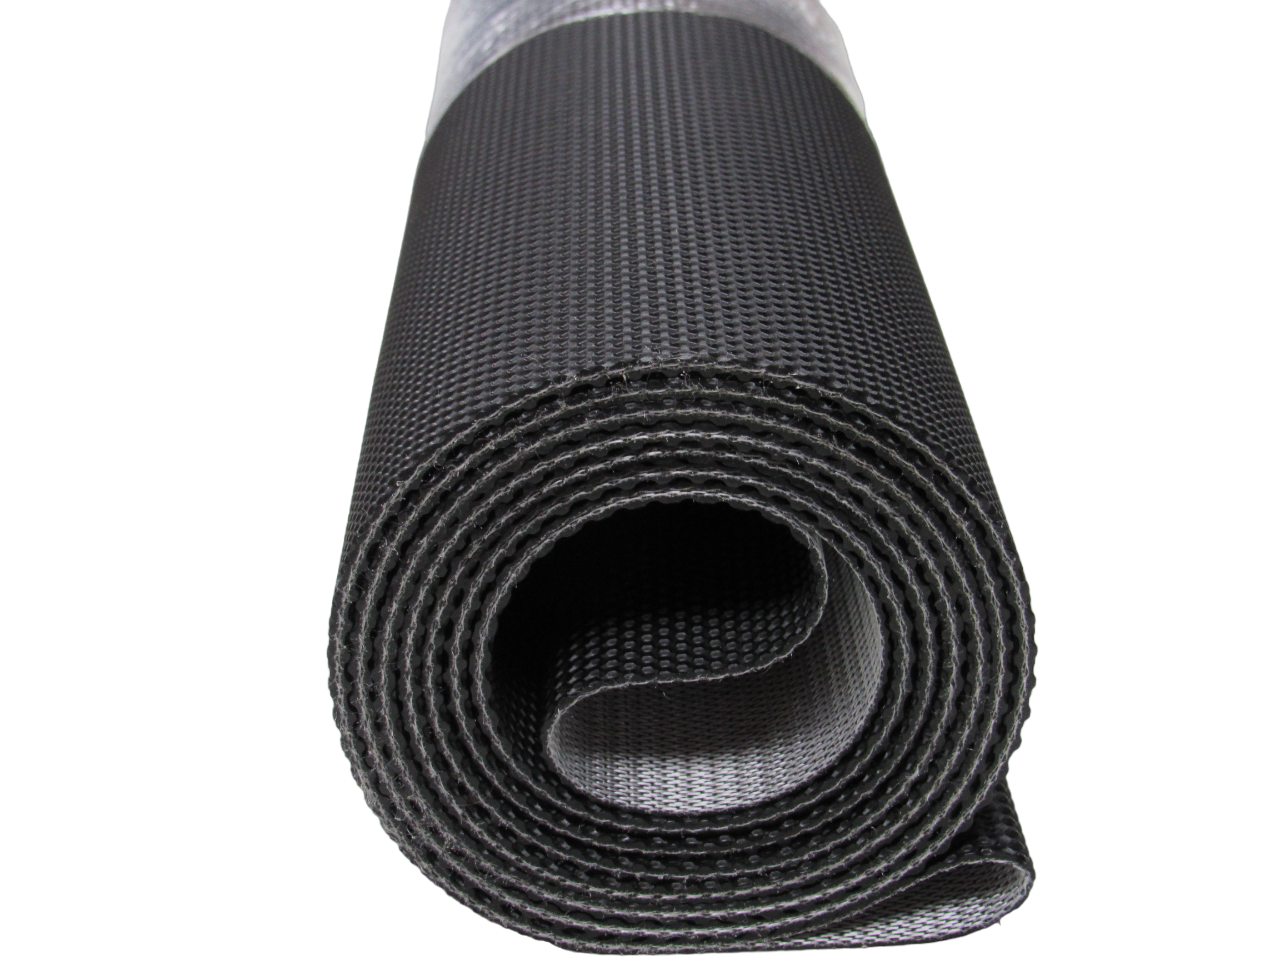
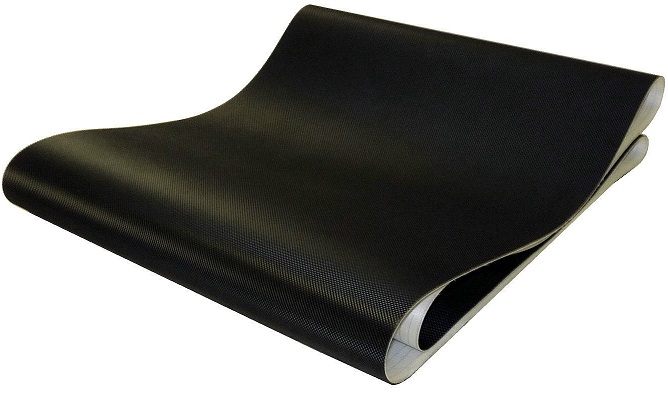
WALKING BELT
There is nothing more frustrating than a treadmill that interrupts your workout. Before you assume your machine is ready for the scrap heap, it is important to diagnose the issue correctly. Many common problems—like a belt that hesitates, slips, or creates excessive heat—are simply symptoms of a worn belt or deck, not a failed motor.
Diagnostic Checklist: Is the Belt the Culprit?
Before you commit to a replacement, perform these simple checks to ensure you are fixing the right problem:
- Slipping during use: If you feel the belt “skip” under your foot, it may be loose or the underside coating has worn away, increasing friction.
- Heat buildup: Does the motor cover feel abnormally hot after short use? A high-friction belt forces the motor to work harder, generating excessive heat.
- Visible damage: Inspect the underside of your belt. Cracks, fraying edges, or a “glazing” effect (where the fabric looks shiny and hard) are clear signs it is time for a change.
If you are still unsure, our expert team has extensive experience with these units. Use our parts lookup portal to confirm your specific model requirements and speak with an advisor who can help you verify if your symptoms point to the belt or the deck.
Before You Begin: The “Wrong-Part” Prevention
The most common mistake in DIY treadmill repair is ordering the incorrect belt. Treadmill specifications change frequently, even within the same model run. Never rely on a generic part number found on a third-party site.
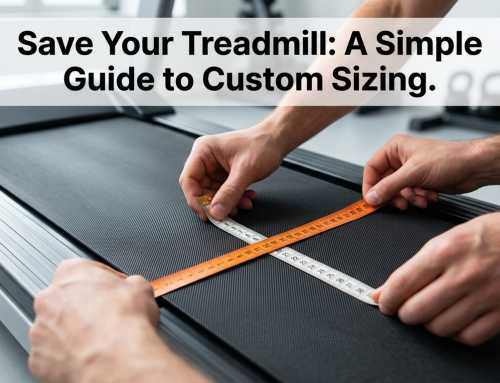
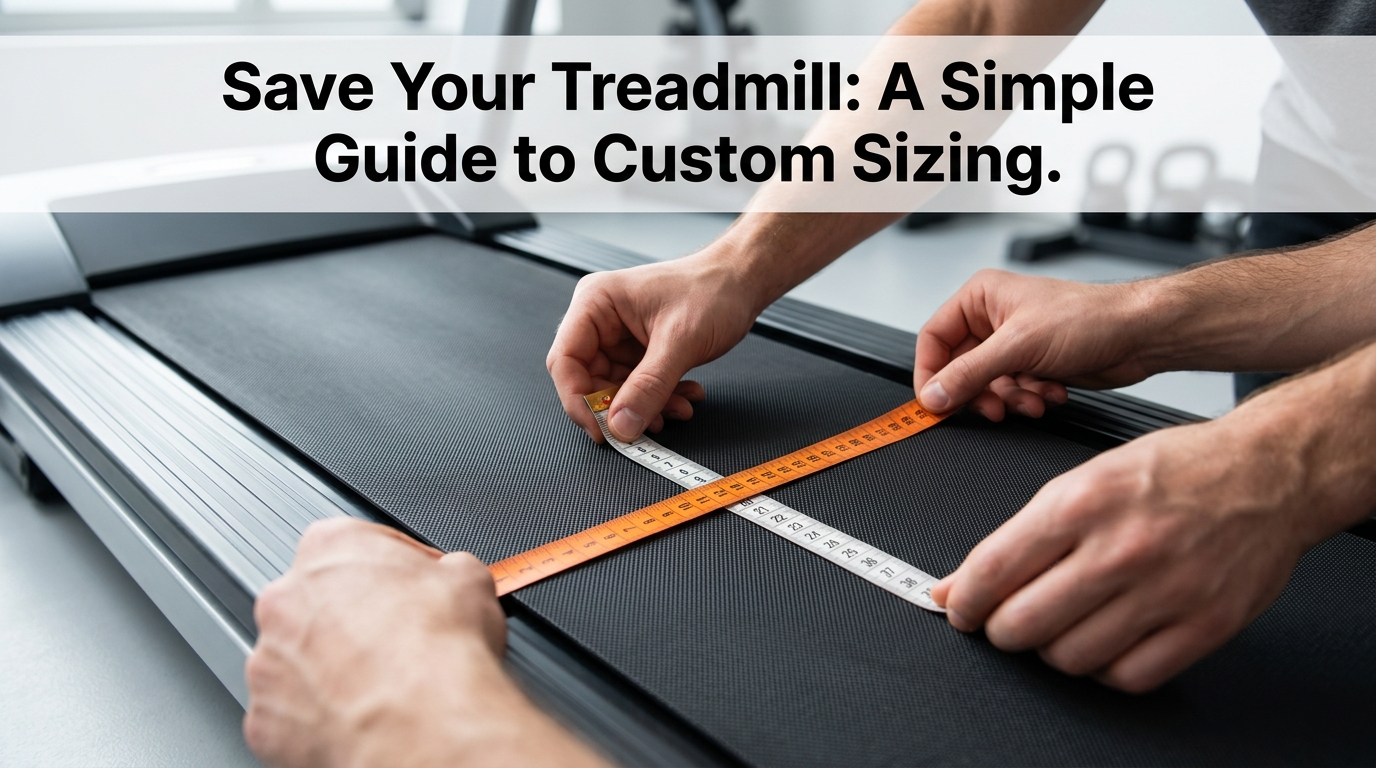
Verify your machine’s serial number and production date before ordering. If your treadmill is a discontinued model or has hard-to-source dimensions, our custom walking belt service ensures you receive a precision-cut replacement that meets or exceeds original factory specifications.
Step-by-Step: Replacing Your Treadmill Belt
Replacing a belt is a manageable DIY project that significantly extends the life of your equipment. Follow these steps to restore your machine to factory performance:
- Safety First: Power off the treadmill and unplug it from the wall. Always perform this step to prevent accidental engagement.
- Access the Deck: Remove the motor hood and the rear roller guards. You will typically need to loosen the rear roller tension bolts to create enough slack to remove the old belt.
- Remove the Old Belt: Slide the old belt off the rollers and remove it from the deck. This is the perfect time to clean any accumulated dust from the motor area and deck surface.
- Install the New Belt: Slide the new belt onto the deck and loop it over the front and rear rollers. Ensure the belt is centered before tightening.
- Tension and Alignment: Reinstall the rear roller bolts. Gradually tighten the tension bolts equally on both sides to achieve proper tension—the belt should be firm but not overly tight.
- Test Run: Plug the machine in and run it at the slowest speed. Watch the belt carefully; if it drifts to the left or right, adjust the rear roller bolts in small increments until it stays centered.
Restore Your Routine
A treadmill is a significant investment. With the right part and a little patience, you can avoid an expensive replacement and get back to your training routine. Whether you need a standard replacement or a custom-cut belt for an older machine, we are here to ensure the job is done right.
Search our parts catalog to find the exact replacement for your machine, or contact us about our custom-cut belt options to get your treadmill running like new today.
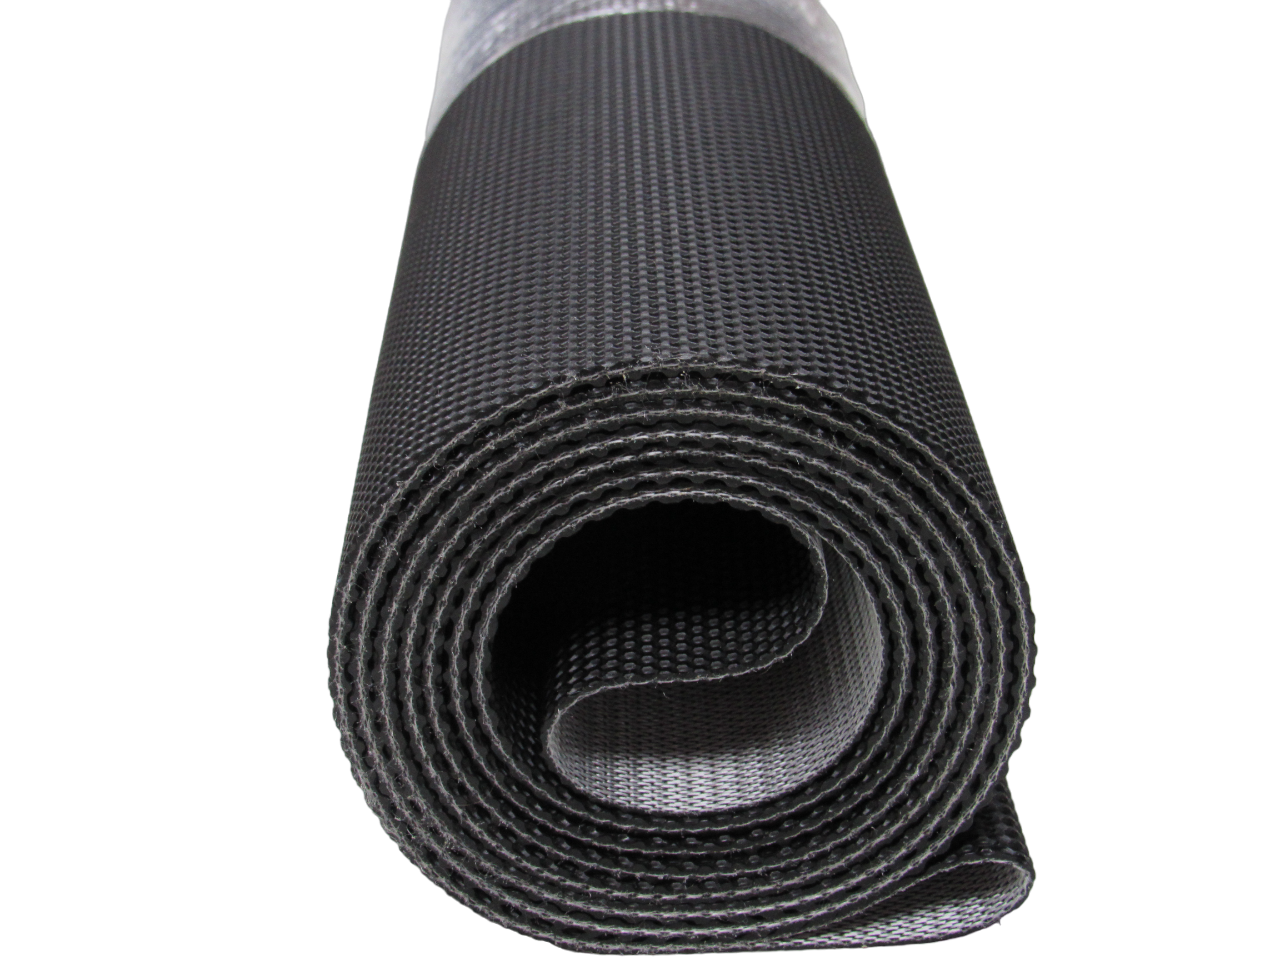
OEM Walking Belt





Leave A Comment